Cleaning the printhead on your cartridge can fix many problems including striped print-outs and clogged cartridges. The problem with most cartridges is that they don’t have an internal print-head like some HP’s do. This leads to cheaper cartridges, but harder to clean printheads. In this Tricks’s post we will show you how to clean a Canon printhead. Cleaning the printheads of a Canon printer is a little more difficult due to the printheads not being mounted on the cartridges, but in a special wagon in the printer itself, it needs a little more attention.
Step 1) Open the printer
Open the printer by lifting the top lid. When opened, the wagon should bring out the cartridges for easy access. It is the same methode used for replacing the cartridges. After a few moments, the wagon will slide into view and come to a stand-still in the printer.
Step 2) Remove the cartridges
You will clearly see the cartridges inside the wagon. Pigment Black, Black, Yellow, Magenta, Cyan. Remove them by pressing the lid on the front of the cartridges. When pushed, they will pup up out of the wagon.
Step 3) Remove the wagon
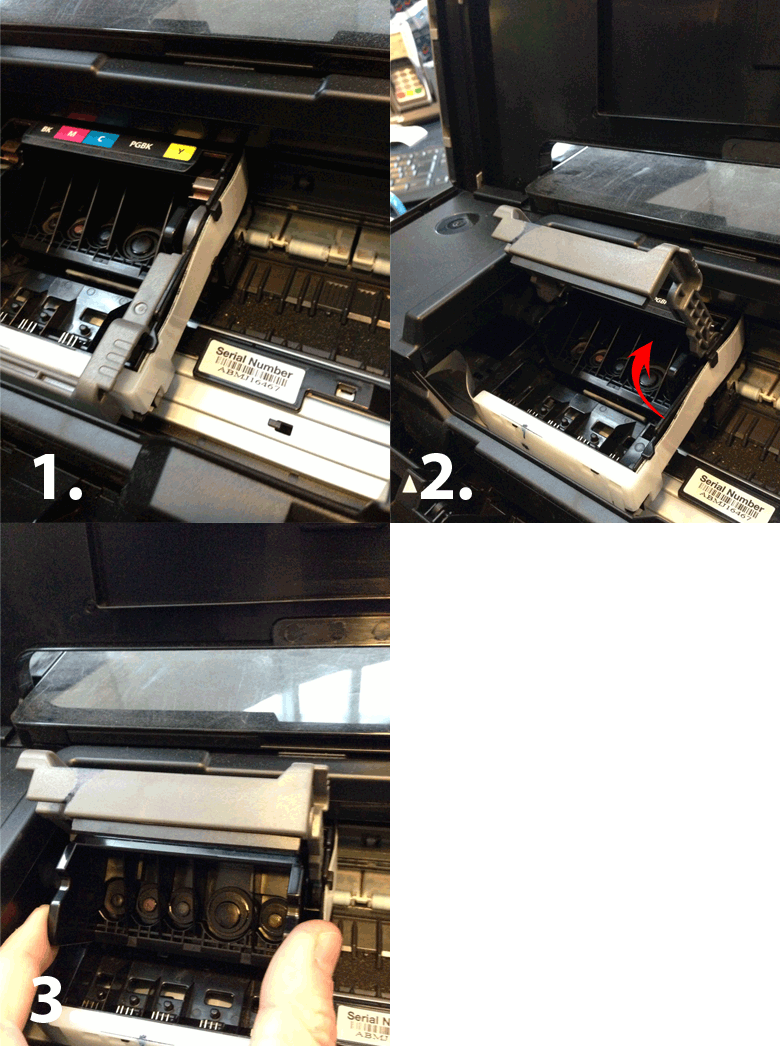
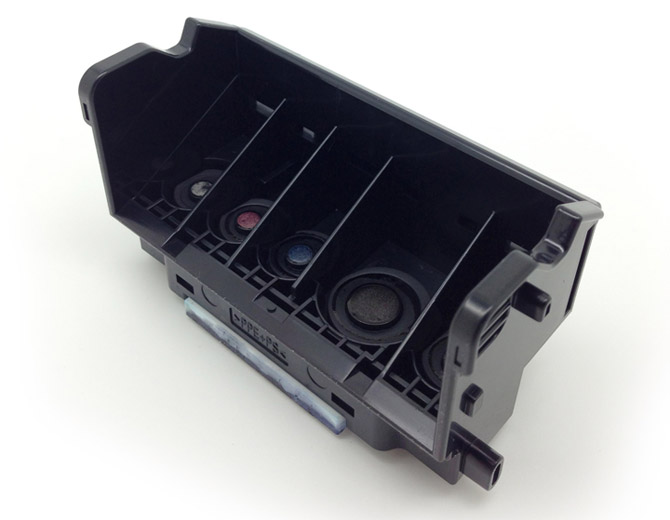
 You can clearly see the printheads in the empty wagon. They are mounted in a seperate carrier. To remove this carrier, you have to remove the locking mechanism. In the picture its shown as a gray lid, which you can push upwards. When pushed up, you should be able to remove the printhead without any resistance. If you do feel some resistance, make sure the lock has been pushed up enough.

Step 4) Clean the printhead

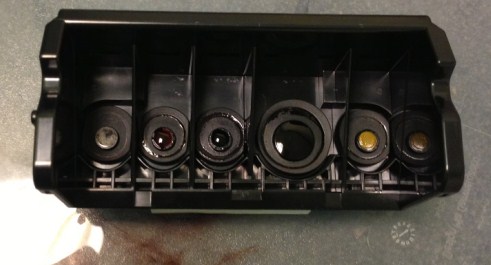
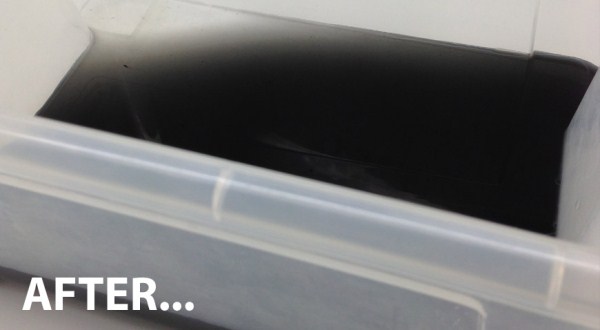
The printhead can now be placed in a little bit of warm water. Make sure the printhead isn’t submerged completely. Only the bottom plate should be under water. You will notice the ink flowing out of the printhead immediatly. You can leave the printhead in the water overnight, or replace the water with fresh warm water ever so often as you like. The water should turn completely black after a couple of hours. When done, you have to dry the printhead with some tissue paper or a dry towell. Make sure that the paper or towel doesnt leave too much debris or dust behind.

Step 5) Replace the printhead
Replace the printhead in the wagen and push down the lock. Reinsert the cartridges in the wagon and close the lid. The wagon should be placed back in original position automatically.
Step 6) Run a cleaning program in the printer software
Make sure to run a cleaning process in the Canon printer software to get the ink flowing again.
With these steps you have managed to manually remove all paper debris and excess ink from the printhead. This is much more than a regular cleaning process can remove from the printer. Remember to let the printhead dry up enough before reinserting it into the printer. You don’t want droplets of water dripping inside the printer mechanisms!
Step 1) Open the printer
Open the printer by lifting the top lid. When opened, the wagon should bring out the cartridges for easy access. It is the same methode used for replacing the cartridges. After a few moments, the wagon will slide into view and come to a stand-still in the printer.
Step 2) Remove the cartridges
You will clearly see the cartridges inside the wagon. Pigment Black, Black, Yellow, Magenta, Cyan. Remove them by pressing the lid on the front of the cartridges. When pushed, they will pup up out of the wagon.
Step 3) Remove the wagon

This animation shows you how to undo the lock of the wagon.

Step 4) Clean the printhead

The printhead can now be placed in a little bit of warm water. Make sure the printhead isn’t submerged completely. Only the bottom plate should be under water. You will notice the ink flowing out of the printhead immediatly. You can leave the printhead in the water overnight, or replace the water with fresh warm water ever so often as you like. The water should turn completely black after a couple of hours. When done, you have to dry the printhead with some tissue paper or a dry towell. Make sure that the paper or towel doesnt leave too much debris or dust behind.

Step 5) Replace the printhead
Replace the printhead in the wagen and push down the lock. Reinsert the cartridges in the wagon and close the lid. The wagon should be placed back in original position automatically.
Step 6) Run a cleaning program in the printer software
Make sure to run a cleaning process in the Canon printer software to get the ink flowing again.
With these steps you have managed to manually remove all paper debris and excess ink from the printhead. This is much more than a regular cleaning process can remove from the printer. Remember to let the printhead dry up enough before reinserting it into the printer. You don’t want droplets of water dripping inside the printer mechanisms!


0 comments:
Post a Comment